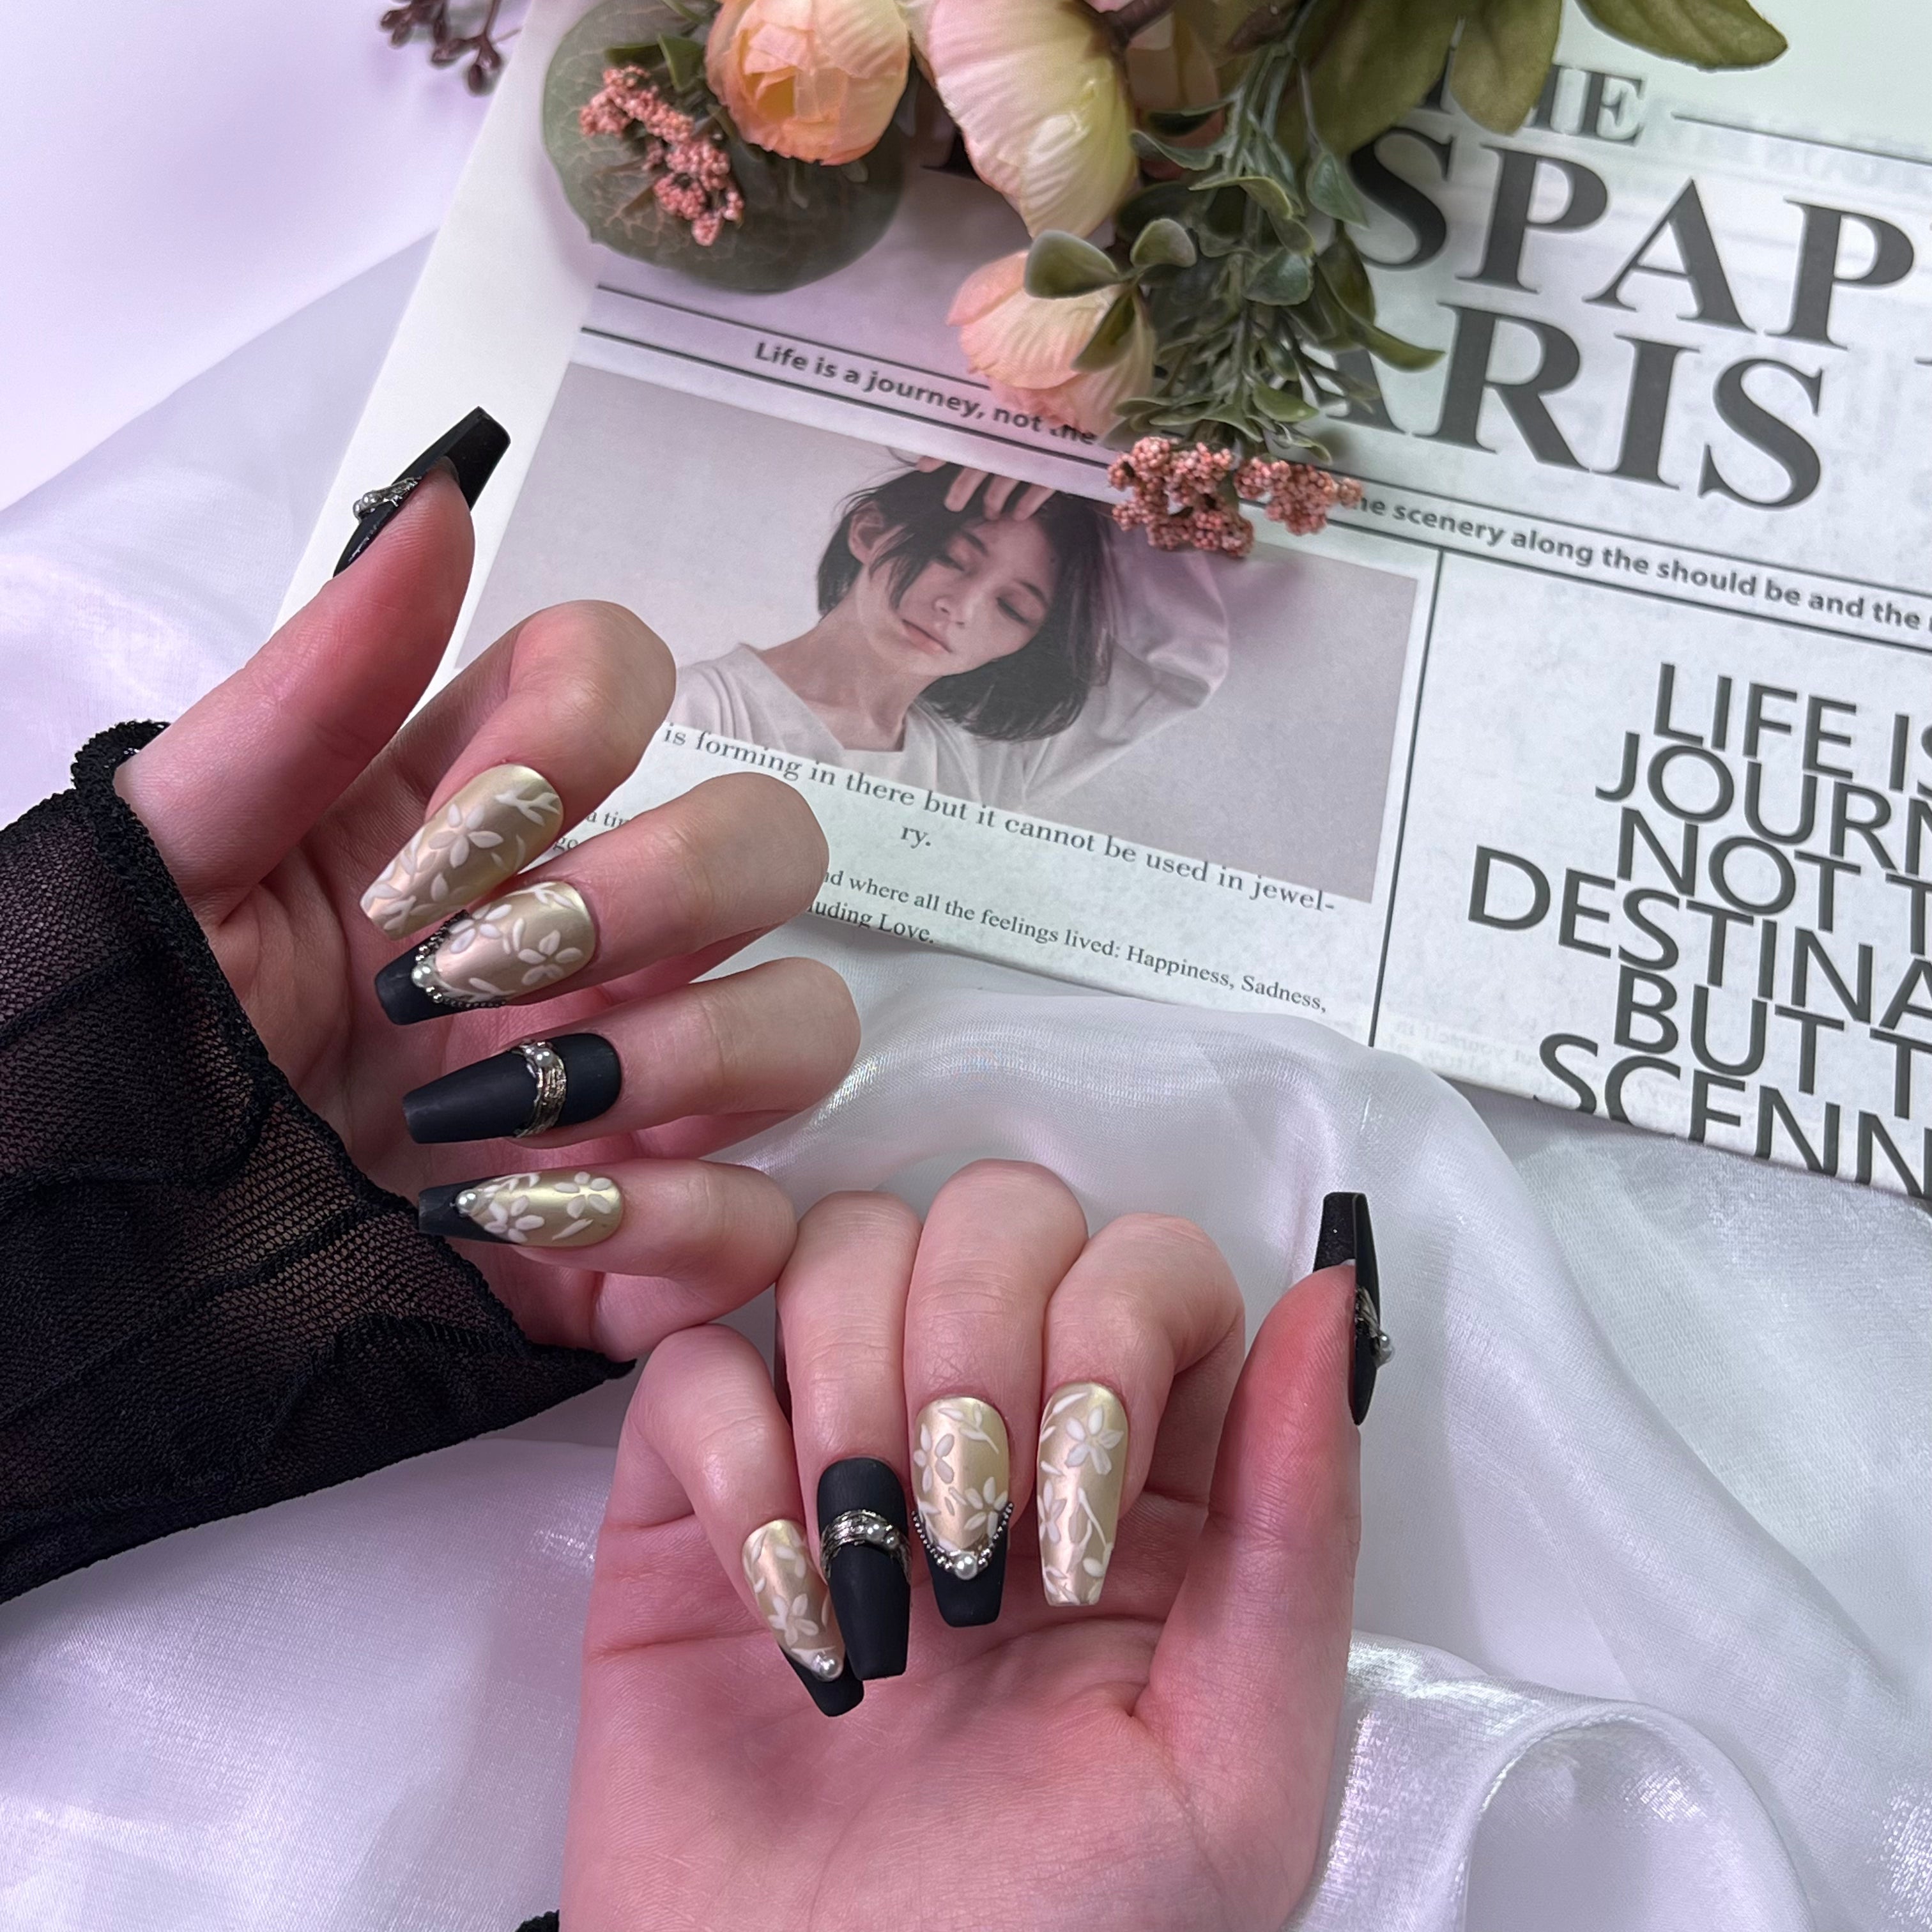
How to Apply *UV Gel*
Please wash your hand before applying:
Thoroughly wash your hands with soap, ensuring to clean between your fingers. Dry completely.
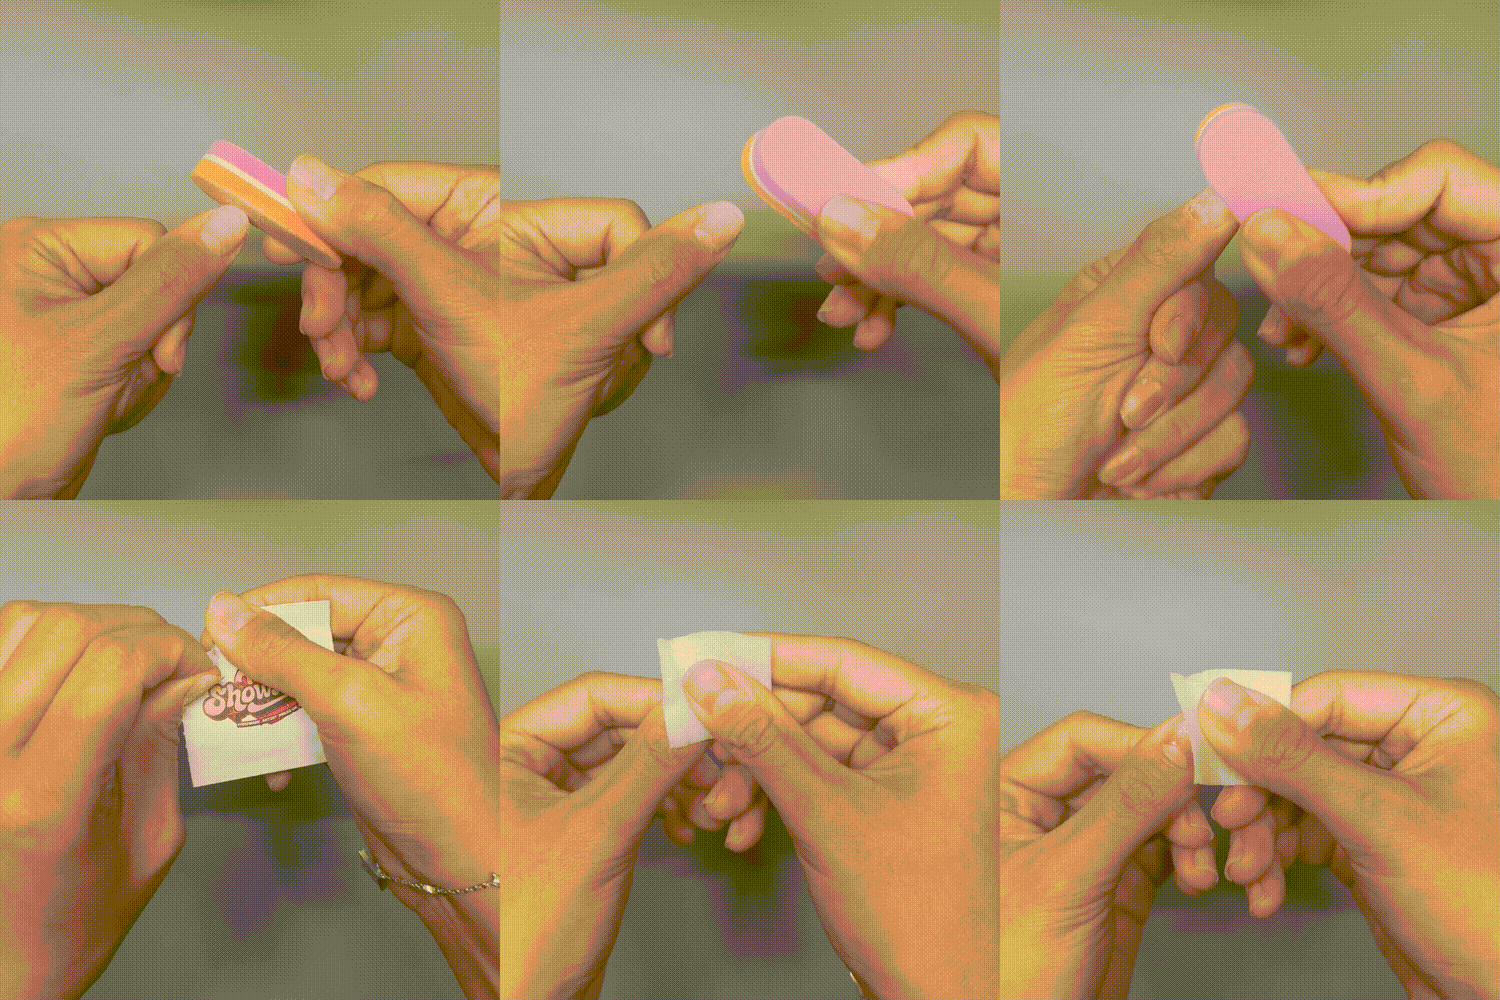
Step 1: Prepare
Gently push back your cuticles using a wooden stick. Buff the surface of your nails lightly to remove shine and create a smooth base. Wipe your nails with an alcohol pad to remove any oils.
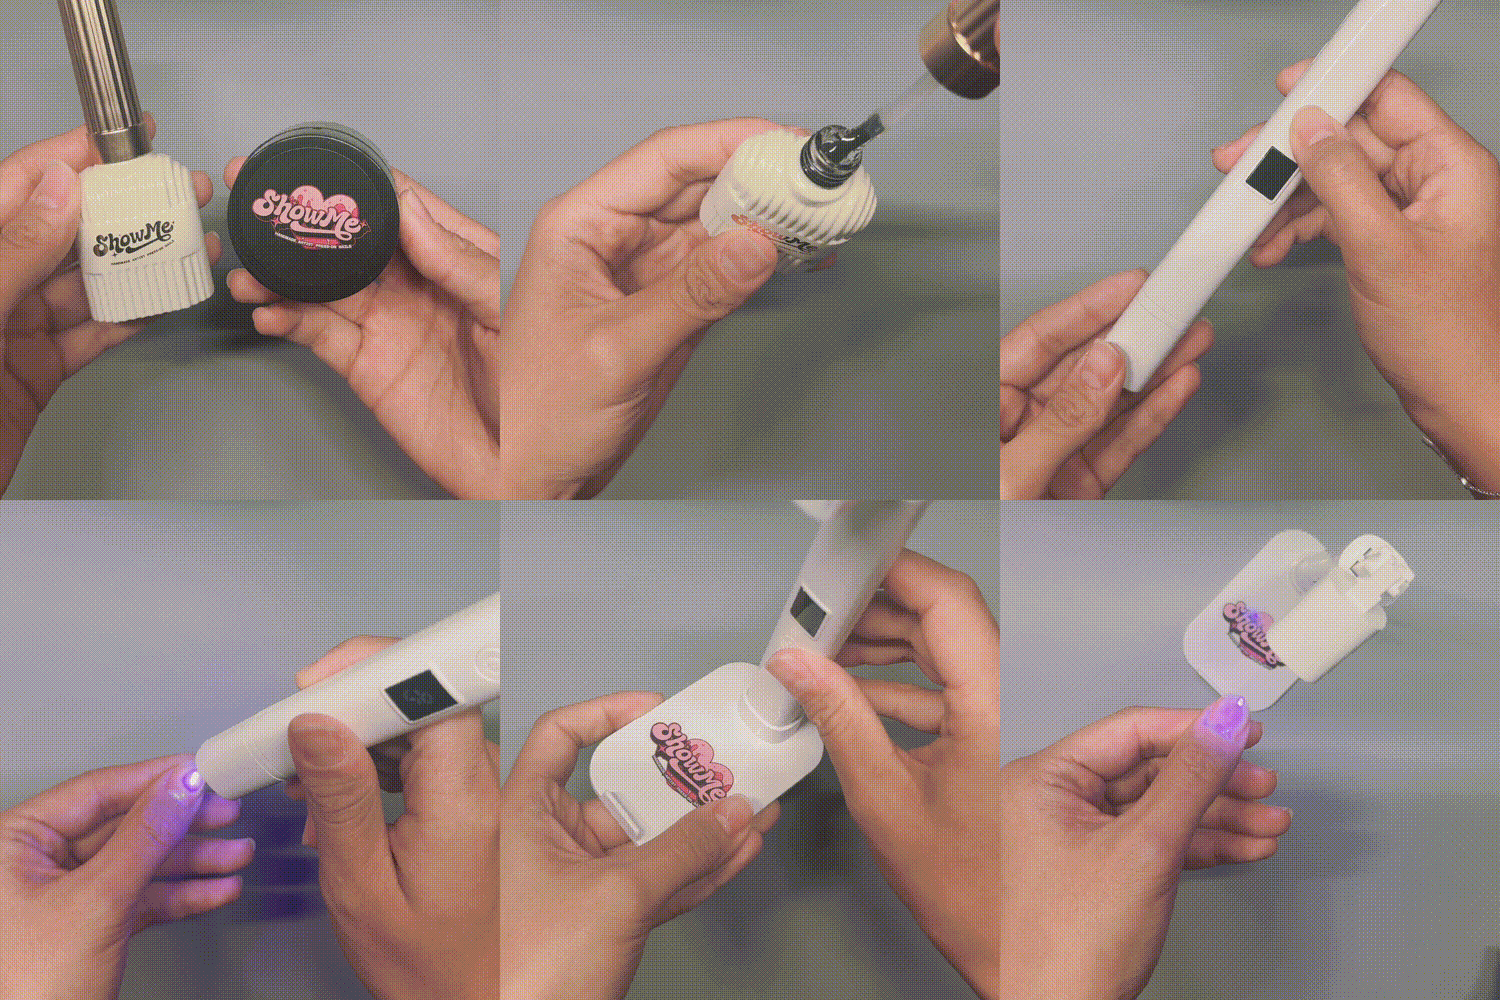
Step 2: Apply Base Gel
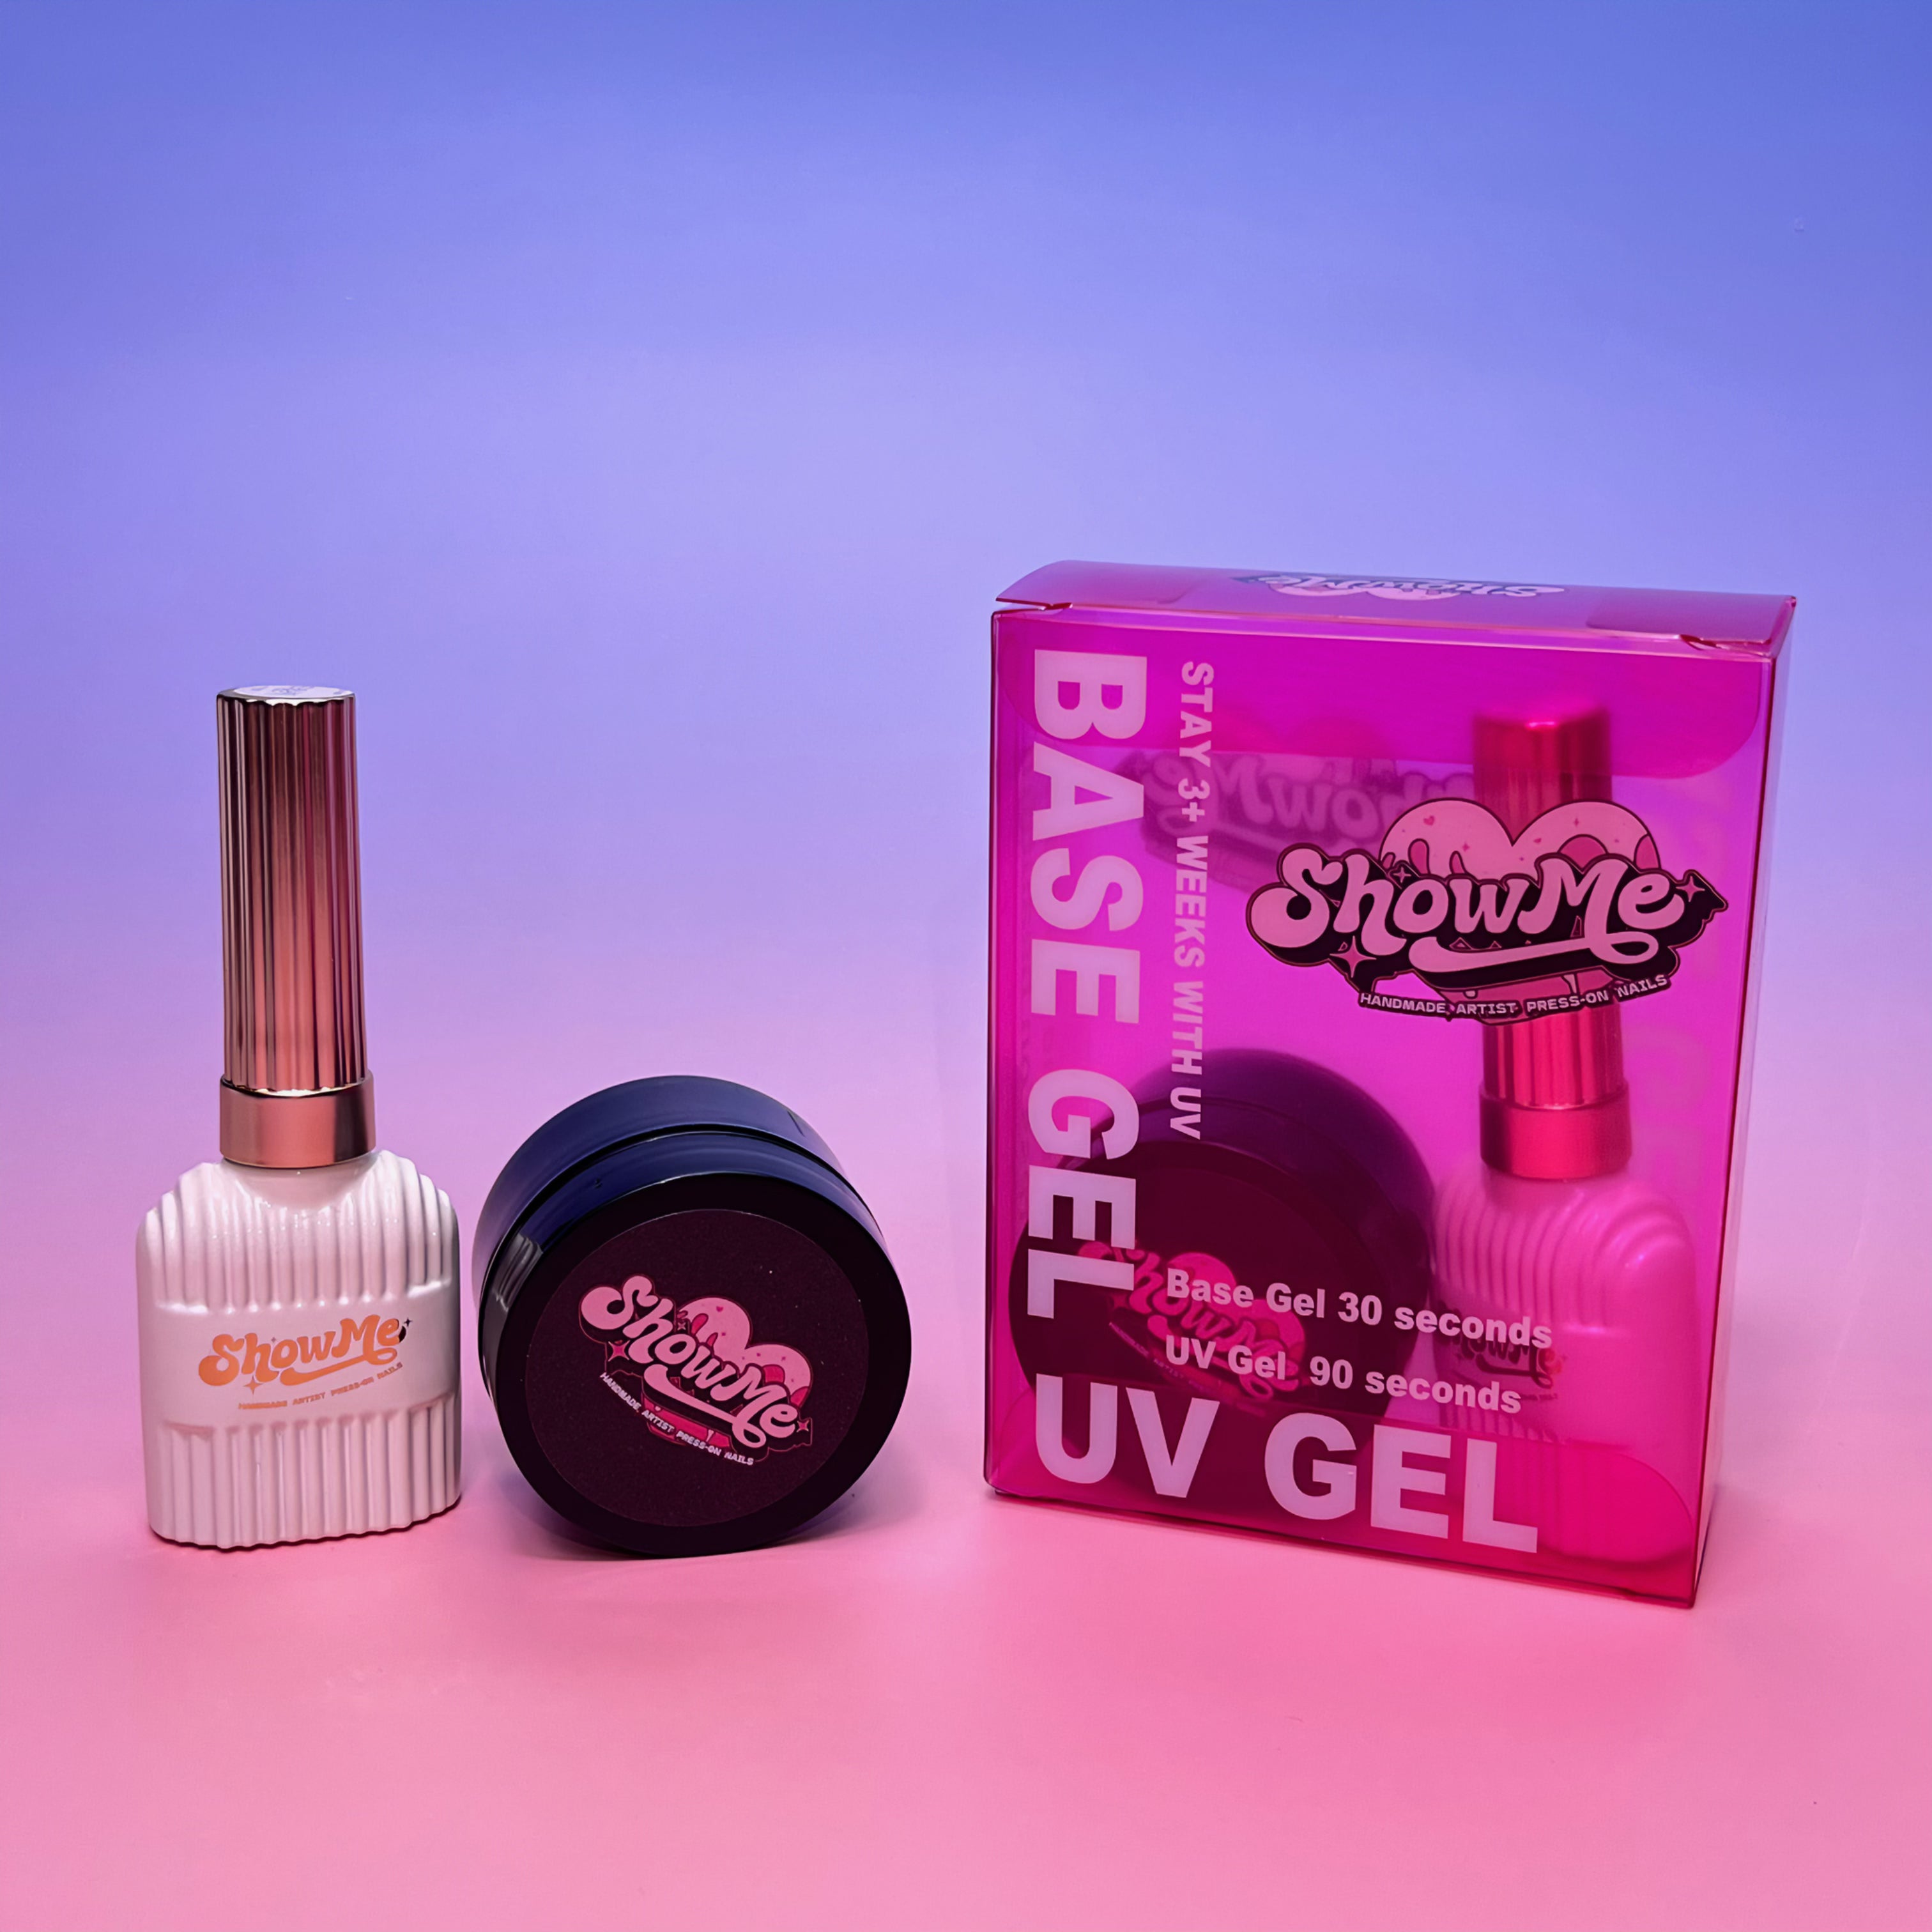
Apply a thin layer of soak-off gel to your nails and cure it under a UV light for 30 seconds for each nail.
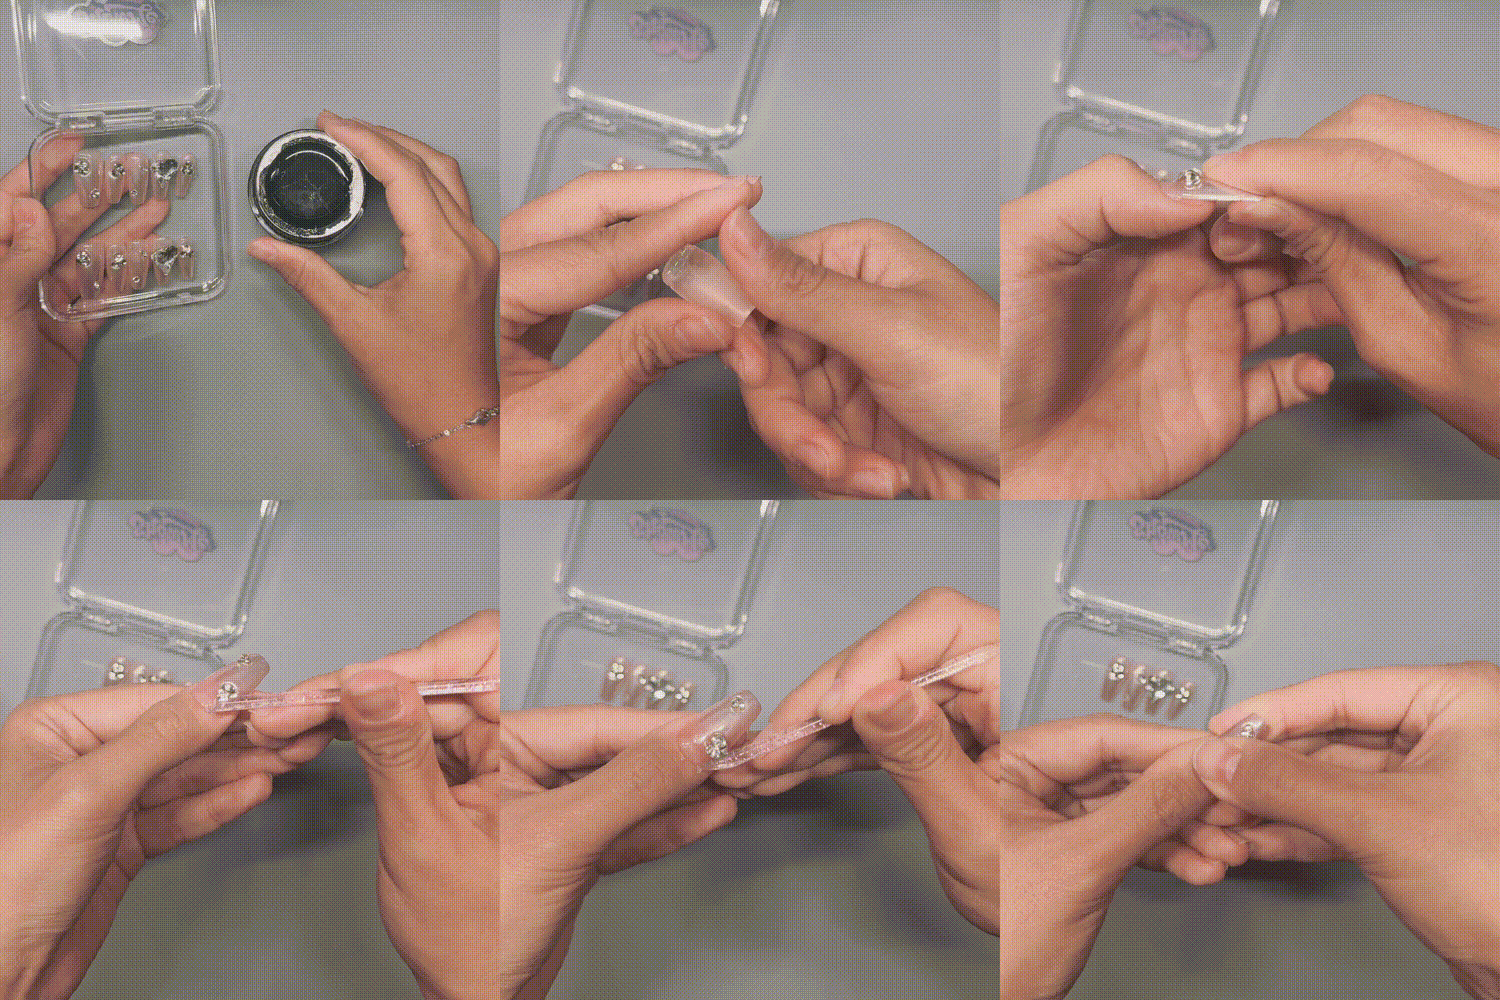
Step 3: Apply UV Glue Gel
Scoop a small amount of solid UV glue gel onto the back of the press-on nail. Position the press-on nail close to your cuticle at a 45-degree angle, then press down and slide it to the base of your nail. This helps the gel distribute evenly.
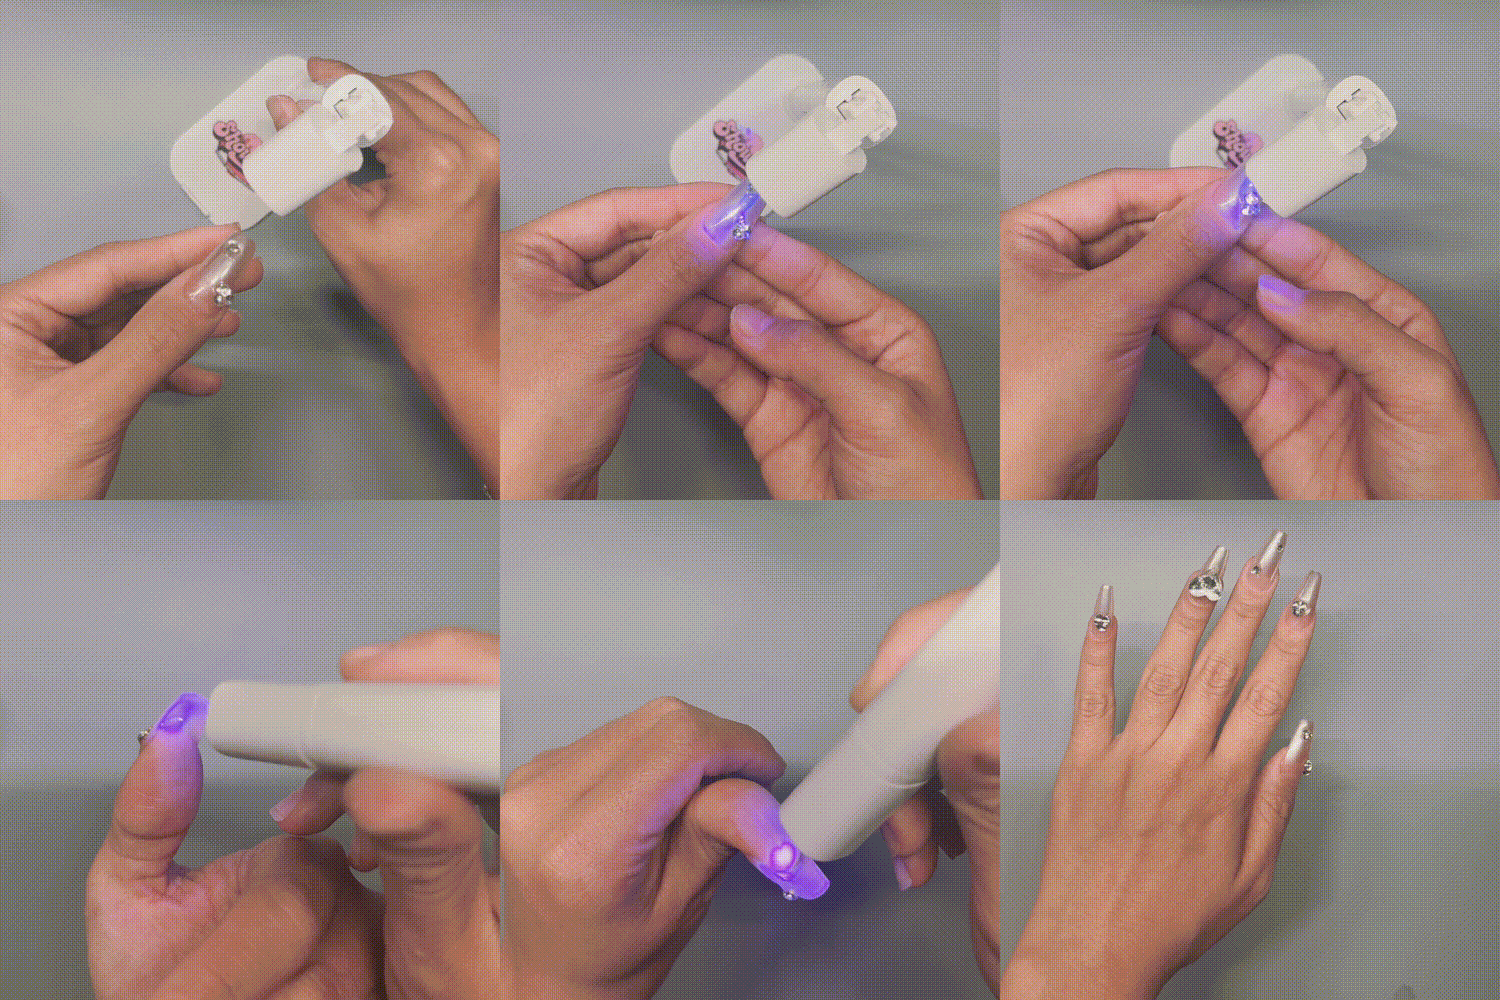
Step 4: Cure& Final Touches
Clean off any excess gel with a stick. Cure each nail under the UV light for an additional minute. Once all nails are applied, cure the entire hand together under the UV light for one more minute.
*Note: Avoid contact with water for at least 6 hours after applying the nails to ensure the adhesive sets properly.
How to Remove *Sticky Tabs*
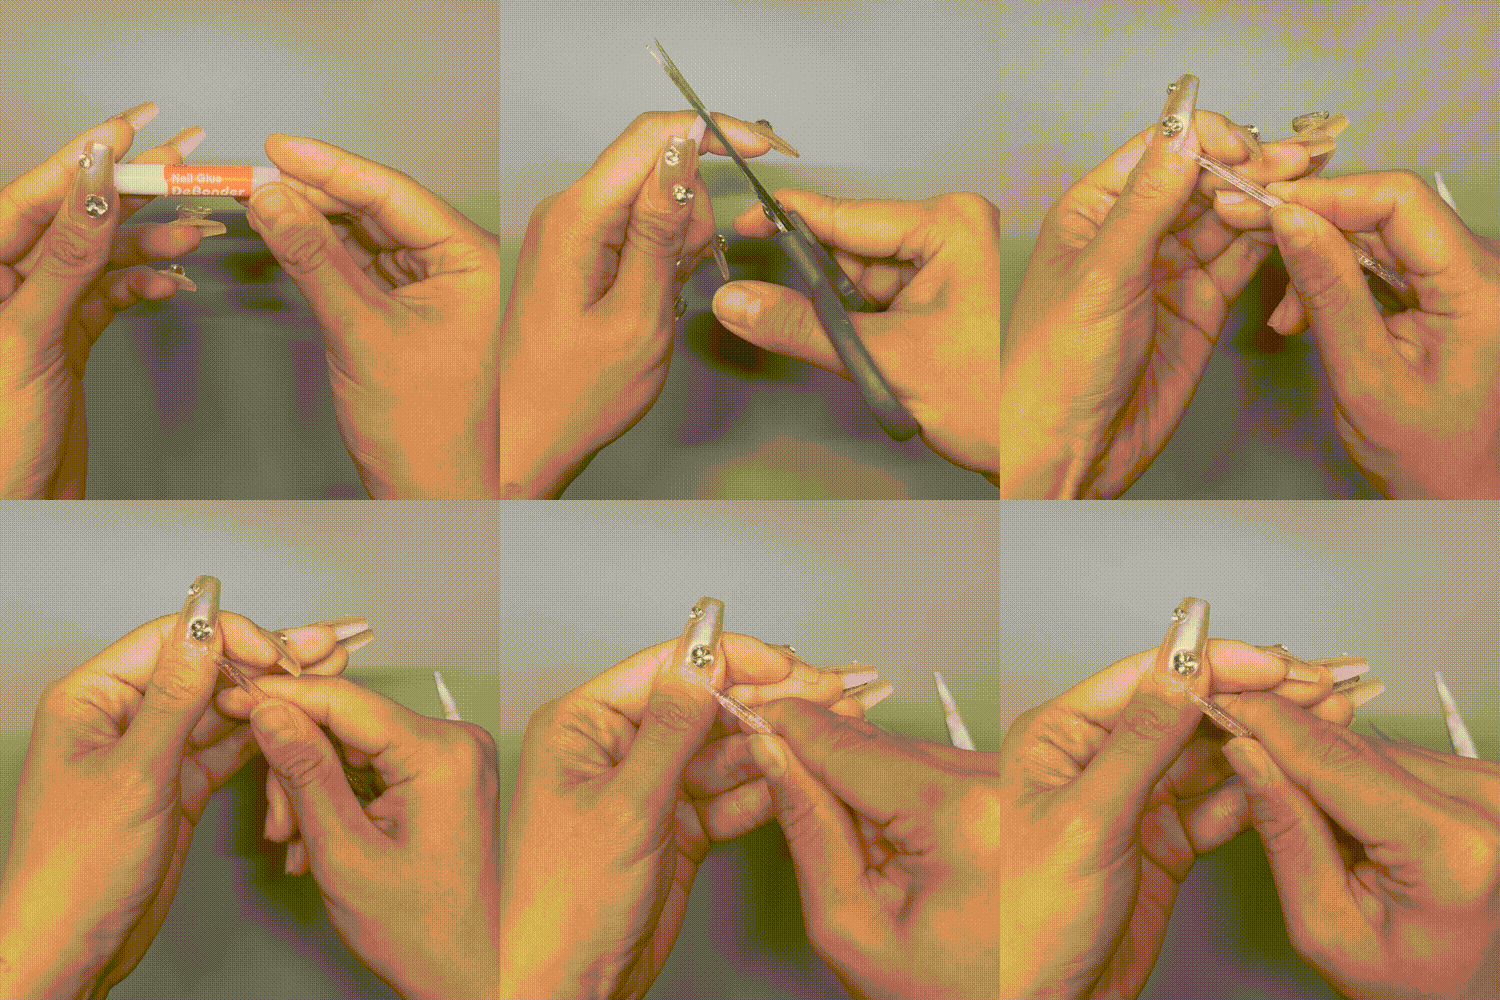
Step 1: Soak & Lift
Submerge your fingers in warm, soapy water for 5-10 minutes. Use a wooden stick to gently lift the press-on nails from the base.
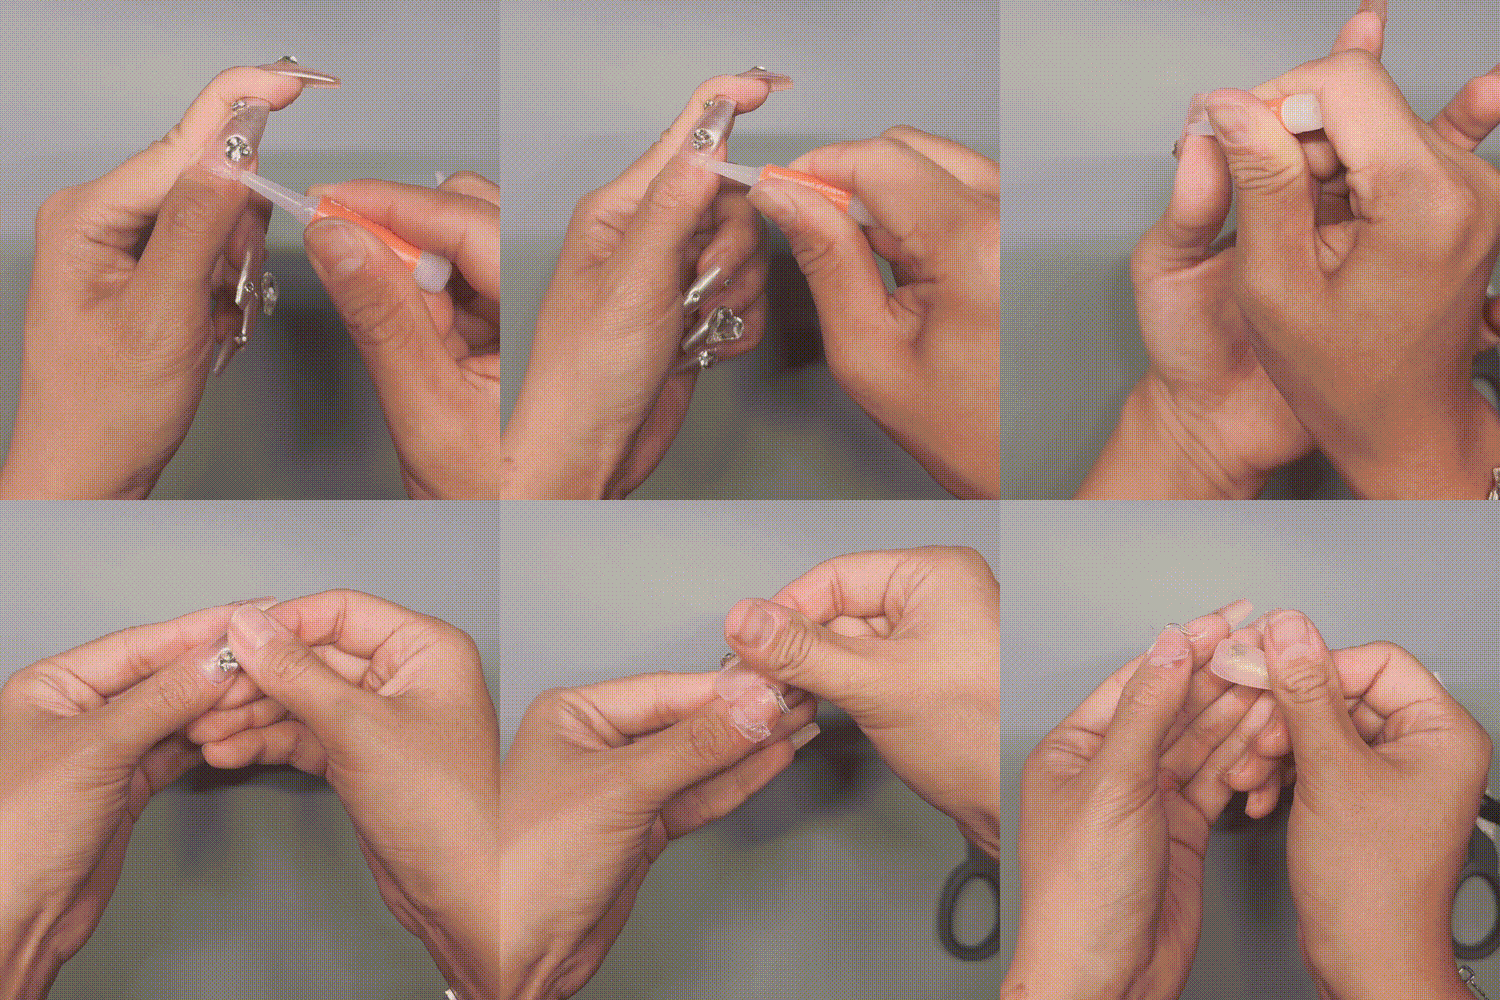
Step 2: Apply Debonder
Then, apply a small amount of adhesive remover at the gap between the press-on nail and your natural nail. Allow the remover to seep in and further loosen the adhesive. Carefully peel off the nails, taking your time to avoid damaging your natural nails.
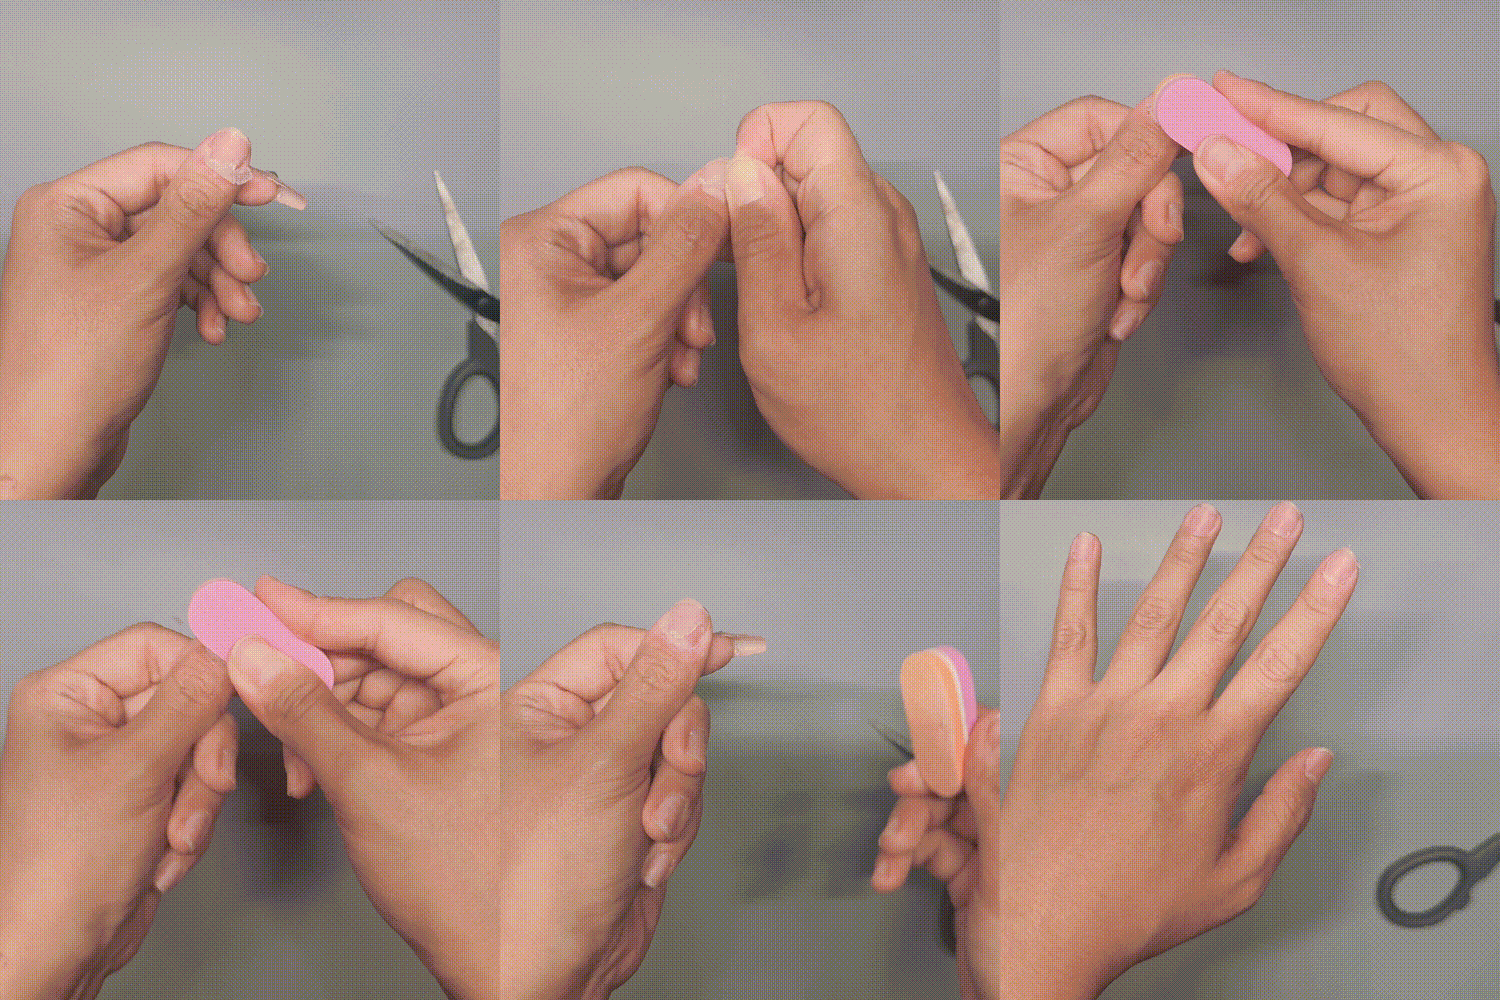
Step 3: Clean
Remove any remaining adhesive from your nails and press-ons using the wooden stick. Clean your nail surface with buff and an alcohol pad to remove any residue.

Step 4: Save
If you plan to reuse the press-on nails, store them in their original packaging or an acrylic box.


